Create an Animated GIF Yourself
For another project, I had a short video I wanted to embed inline without having to resort to YouTube or other dedicated viewer; an animated GIF was the perfect solution. This article describes the process for creating an animated GIF file and includes procedures for Windows and Mac OS X.
Mac

Windows
The first step is to obtain a screen capture of the event that is to be depicted in the animated GIF. I used the free Expression Encoder 4.

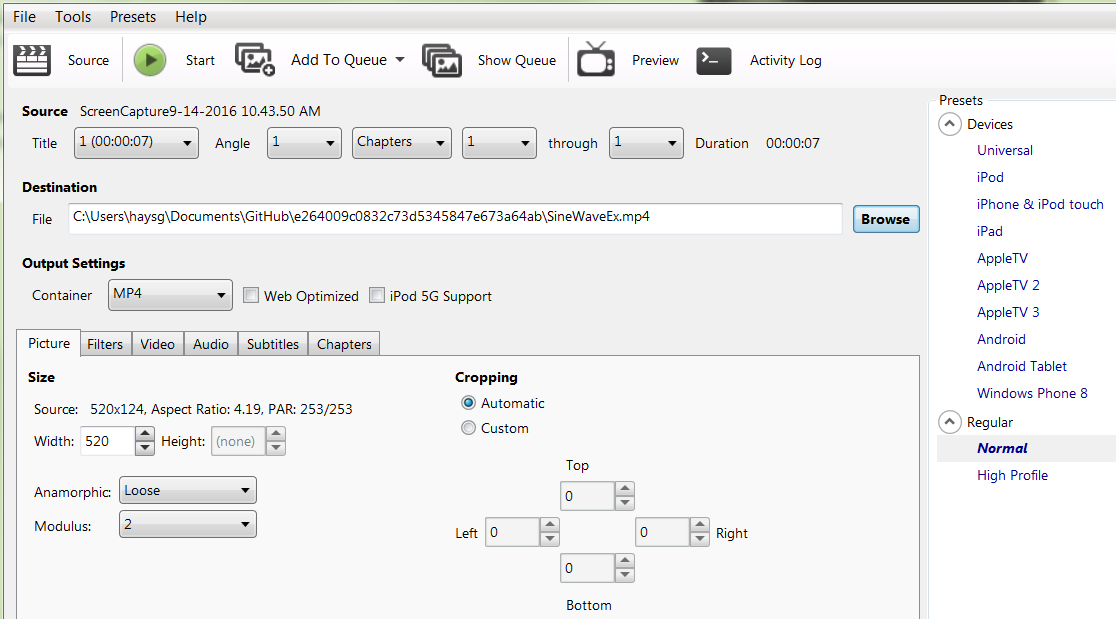
Once the screen has been captured, it must be encoded to a video format. In the case of the free version of Expression Encoder, only the Window Media Video (WMV) codec is supported. In any case, the first step is to send the capture to the separate Expression Encoder utility.

The “Send to Encoder” button will open Expression Encoder with the capture project. At this point we may now encode to the WMV format.

There are several tools for converting video files to an animated GIF but the one I use most often is gifify.
However, my installation of Cygwin did not have ffmpeg or imagemagick nor did I have the GnuWin versions. So I decided to run gifify on an Ubuntu workstation.
I had some problems getting the correct dependencies (ffmpeg and imagemagick convert) installed on Ubuntu so I used gifify-docker instead.

$ docker run -it --rm -v $(pwd):/data maxogden/gifify source.mp4 \
  -o output.gif